The route through The Fall
Cross The Fall by following the bouncy goo platforms to the train power puzzle and dynamite gate, escaping the Allosaurus, then using wallrunning and freight platforms to reach the rail cavern. There, open the shed with the Shed key, collect all four fuses, and use the board near the floodlights and the large console to continue toward the Motherlode.
Cross the starting worksite
The Fall begins at an underground worksite after the flooded descent from The Digsite. Your early route uses bouncy goo before reaching the train machinery and its blocked passage. Match your surroundings to the starting worksite, the train power site, or the later rail cavern before following the relevant instructions below.
- Use the early bouncy goo platforms to move through the worksite toward the train section. Aim for the next landing before committing to each bounce.
- Bounce up from the goo beyond the timed door to reach the higher area. The boxes on your left are a useful landmark when you land.
- Press the button at the train in the middle of the area to move its front section. The movement reveals bouncy goo that you can use for the crossing.
- Bounce across on the newly exposed goo to reach the other side. Blue boxes sit to the right of the landing, helping you recognize the far side.
Restore train power and blast the blocked door
At the larger train site, deal with the power supply before the dynamite obstruction. The external lever and the office's red button are the controls to use here. Once the blocked route is open, your next targets are the generator and train control panel.
- Pull the external power lever at the train site to restore the supply before using the office controls.
- Press the red button in the office to expose the dynamite needed for the blocked route.
- Blast the locked metal door with dynamite to open a passage through the obstruction.
- Start the generator beyond the blasted route to restore power before operating the train machinery.
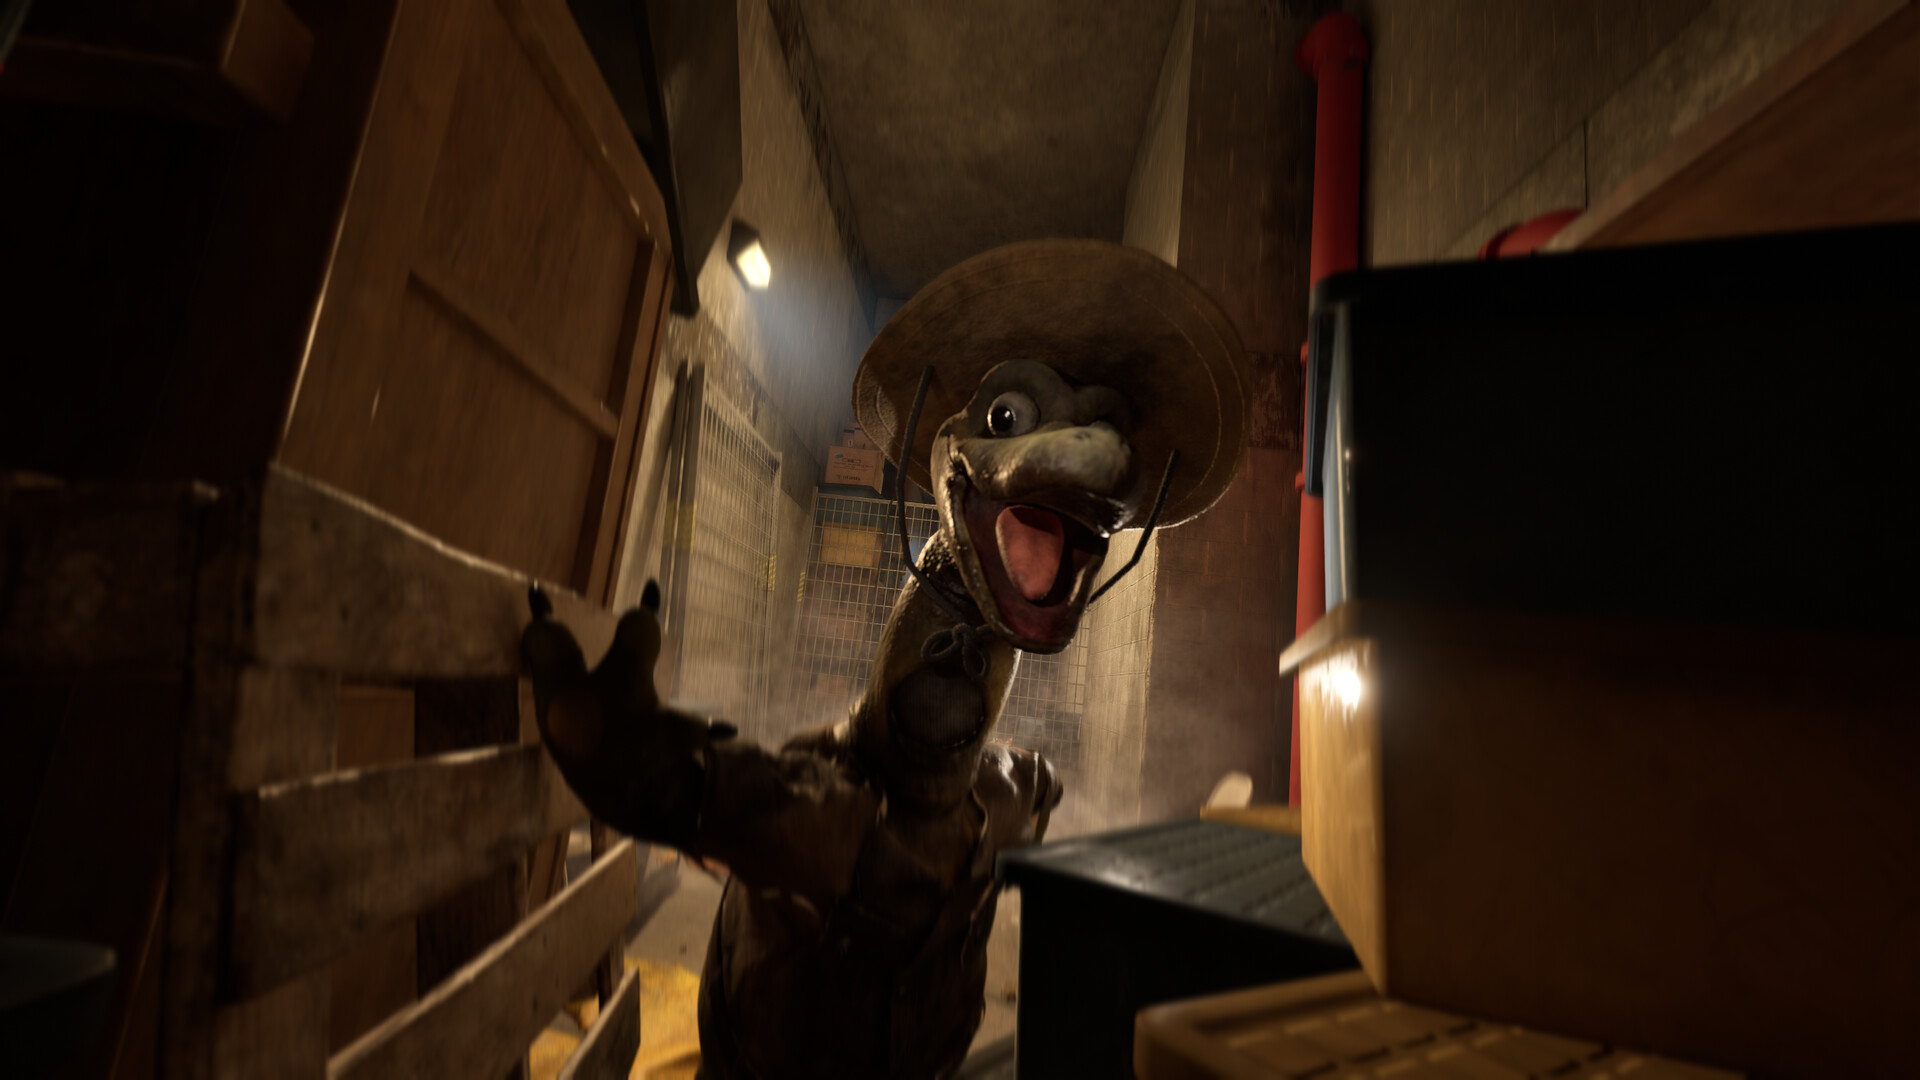
Activate the train cart control panel to move the train. The upper catwalks provide the route out of the large area.Playing this video connects to YouTube.
- Cross the upper catwalks to leave the train area and reach the small buildings ahead, including the red building.
Escape the Allosaurus through the rock gaps
Use the narrow gaps as your escape route during the Allosaurus encounter. Briefly facing it is part of getting through the hunt, but keep moving toward the rock slits. Plan the next stretch before committing to a run, and save exploration for after the pursuit.
- Briefly face the Allosaurus during the hunt while keeping your next escape gap in mind.
- Squeeze through the narrow rock slits to continue your escape. Choose the next gap before committing to a run.
- Follow the arrows during the later escape sequence to reach the small hole. This is the route that leads out of the pursuit.
- Go through the small hole to lose the dinosaur. A table immediately to your left marks the far side of this escape passage.
Use wallrunning and align the freight platforms
The route continues through a flooding chase and more goo traversal before wallrunning becomes the main objective. Crossing the hanging wall with red lights updates the objective to "Use wall running to progress through the caverns". The freight section then adds a generator and buttons that position suspended platforms.
- Launch from yellow goo toward the goo-coated walls to reach the wallrunning route. Line up the bounce with the wall you want to use.
- Run and jump onto a goo-coated wall to begin the crossing, with your exit aimed toward a marked ledge.
- Jump off toward the marked ledge to reach the next landing. Check the next wall or platform from that landing before continuing.
- Repair the freight generator to restore power before using the controls that reposition the platforms.
- Press the red buttons that reposition the platforms to align the suspended crossings and make the onward freight route usable.
Find the Shed key and the required fuses
The rail cavern requires four fuses, including the fuse inside the locked shed near the tracks. The Shed key opens that shed, where you can collect its fuse. Visit each location below before returning to the central board near the floodlights.
- Retrieve the Shed key from the upper cabinet above the Call It In route. With this key, you can open the locked wooden shed near the tracks.
| Location | Action |
|---|---|
| Generator enclosure | Collect the fuse from the green workbench inside the generator enclosure. |
| Ground-level office | Enter the office with broad windows at ground level and pick up the fuse inside. |
| Elevated wooden office | Reach the elevated wooden office using the bars and goo-coated walls, then collect its fuse. |
| Wooden shed near the tracks | Open the locked wooden shed with the Shed key and collect the fuse inside. |
Complete the fuse board and continue to the Motherlode
Install all four fuses in the central board near the floodlights. This is where the replacements belong before you use the large console.Playing this video connects to YouTube.
- Operate the large console after replacing the fuses to continue through the rail cavern toward the Motherlode.
- Climb the large metal structure in the underground area to reach the section with the slope-shaped building.
- Continue through the Motherlode passage toward the deep blue caverns, the destination beyond the rail-cavern section.
If the fuse objective stops responding
If the fuse objective stops responding, check that your game is updated before repeating the collection route. Patch 1.0.9 addresses a bug affecting the four fuses, and the official notes also list a fix for fuses failing during the Allosaurus hunt. After updating, return to the board near the floodlights and complete the replacements there.