The Route Out of Bronto’s Digsite Hunt
To escape Bronto through the digsite, finish the three elevated sub-switches, activate the three kill switches around the flooded route, then sprint through the right-hand tunnel to the narrow passage. Beyond that escape, use the red button and the ledges on your left to beat the next timed auxiliary door.
Bronto also pursues you in the museum gift shop and along other cavern routes. Match the instructions below to your current landmark: the floodlight pillars, fossil passage, elevated switches, or flooded digsite.
Leave the Museum When Bronto Blocks the Exit
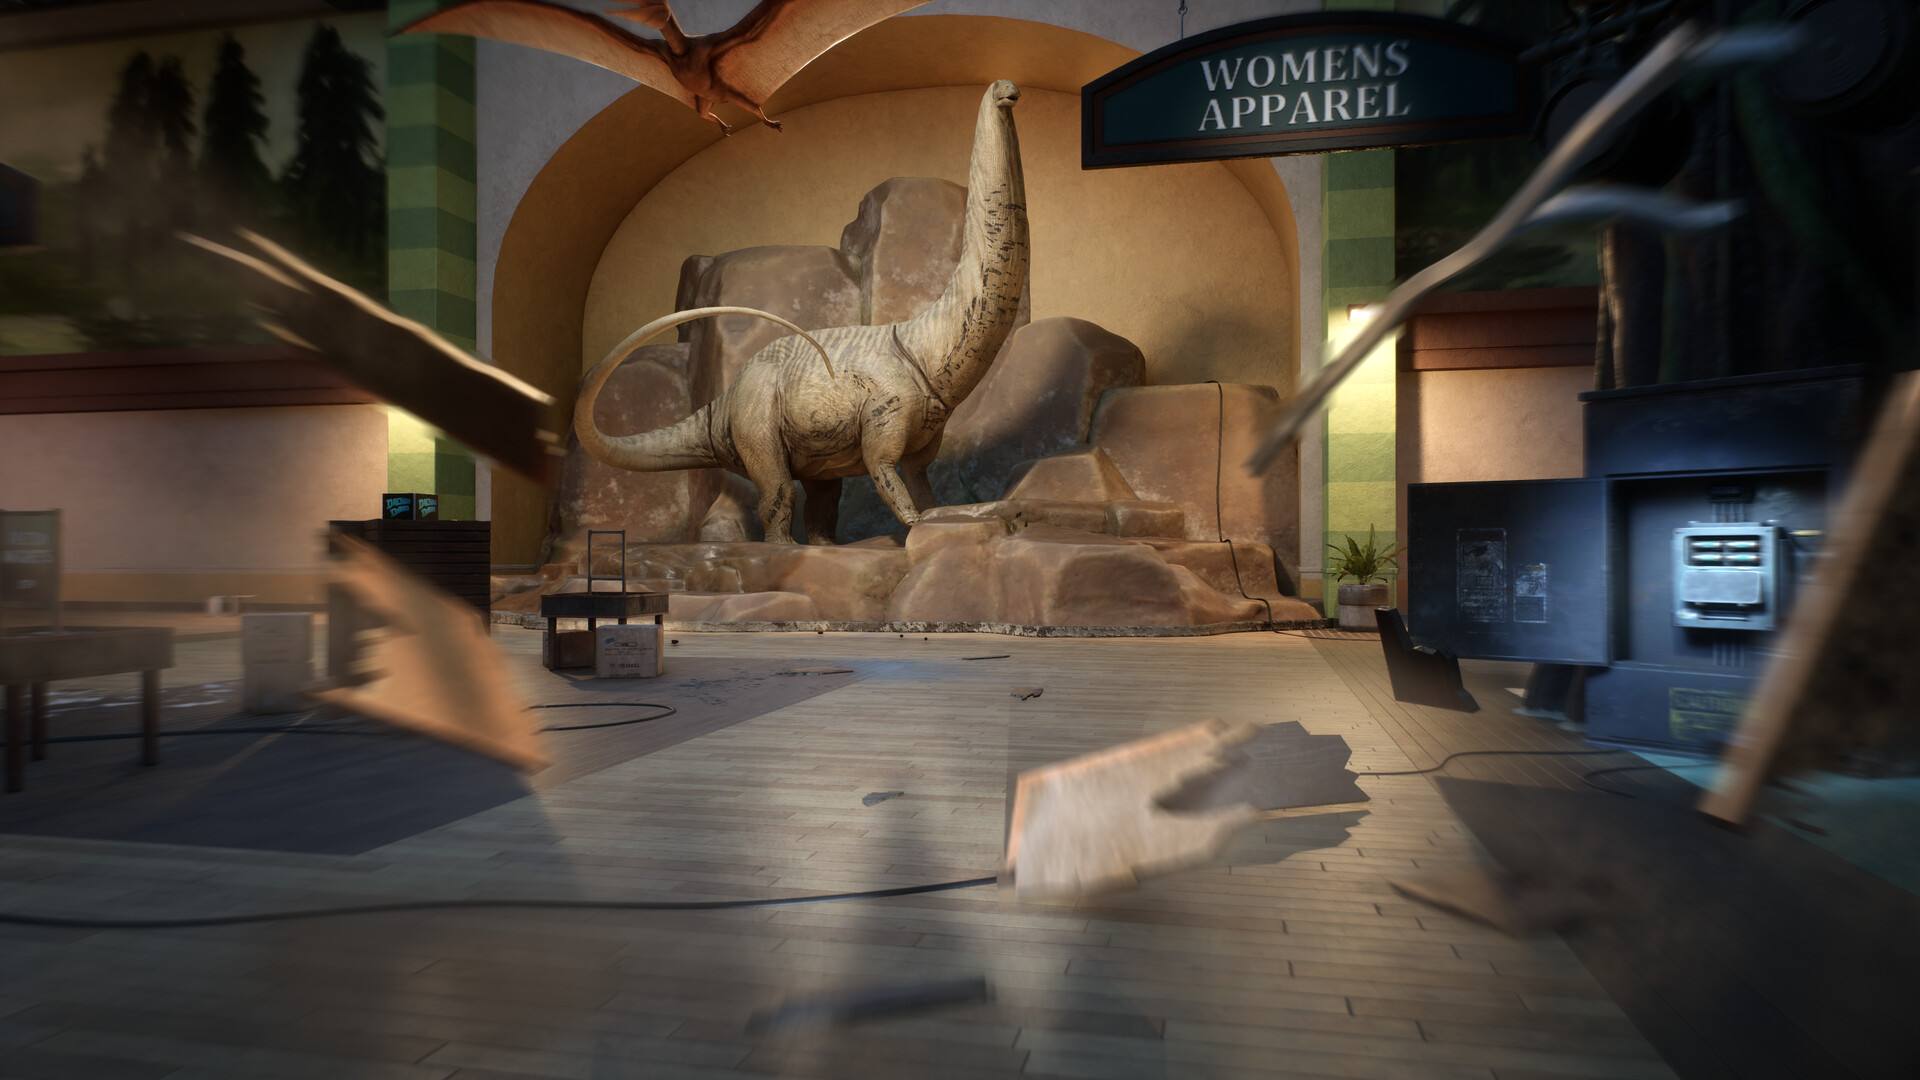
The gift-shop sequence takes you between the elevated levers and the floodlight controls below. Use the pillars and shelves to orient yourself while working around the room. During the floodlight circuit, favor walking over constant sprinting; save your immediate dash for the destroyed exit.
- Pull the levers above the three pillars where you placed the fuses. These are the elevated controls needed to unlock your path forward.
- Enter the vent near the end of the upper platform route. It takes you back inside the office before the floodlight circuit.
- Power the floodlights at the three fuse boxes around the gift shop. Bronto is roaming below while you operate these controls.
- Approach the exit to the right of the office after powering the lights. Bronto destroys this exit, forcing you to change course.
- Reverse direction immediately when the exit is destroyed. The route straight ahead takes you toward the basement instead of the blocked doorway.
- Jump across the platforms deeper in the basement. Following this escape route brings you into the caverns at the end of the museum chapter.
Escape Through the Fossil Passage and Narrow Gap
- Turn around when the cutscene at the top of the climbing section brings Bronto back. Your escape continues along the path on your right.
- Sprint along the right-hand route through the fossil passage. Keep your attention on the platforming ahead as you move away from Bronto.
Follow the white lights through the chase route to help pick out the way forward while Bronto pursues you.Playing this video connects to YouTube.
- Swing across the crane along the fossil-passage escape route. This carries you onward toward the narrow-gap section.
- Shimmy through the narrow gap after the chase. You emerge into a room with tools on the wall and can continue through the caverns.
Bronto returns later while you are crawling through another narrow path. Wait for it to leave before coming out, then take the cavern route on your right. The following stretch continues along a linear parkour path.
Complete the Elevated Sub-Switch Circuit
The elevated sub-switch circuit comes before the kill-switch hunt. Complete these controls before tackling the later emergency shutoffs. Keeping the objectives separate makes it easier to recognize which route you need next.
- Climb the ladder on your right when you reach the sub-switch area. This puts you on the elevated route toward the controls.
- Activate the first sub-switch at the top of the ledges to your right. This starts the required circuit around the upper area.
- Activate the second sub-switch along the parkour route to your left. The approach continues across the elevated platforms from the previous control.
- Activate the final sub-switch farther left from the second control. This completes the three sub-switches before Bronto’s next hunt.
Use the Kill Switches to Clear the Flooded Route
Speak with Stella when Bronto starts hunting again. The next objective requires three kill switches around the flooded, electrified route. Complete the shutoffs before attempting the following water crossing; operating them makes that route traversable.
Hold the ground-level kill-switch controls when you reach them to activate the shutoffs and clear the way out.Playing this video connects to YouTube.
- Activate the first kill switch at the end of the route to the right of the bunker. Sprinting helps you cover this part while Bronto hunts.
- Activate the next kill switch to the left as you come out of the tunnel. This continues the shutoff circuit around the area.
- Activate the final kill switch to the right of the second switch. With all three shutoffs complete, the following water route becomes traversable.
- Sprint through the tunnel on your right to reach the narrow passage at its end. This is the escape route after completing the switches.
- Crawl through the narrow passage to escape Bronto. The route continues outside the gap, with climbable rocks on your left.
- Climb the rocks on your left after emerging from the passage. They position you for the platform directly in front of you.
- Jump onto the platform ahead to continue along the cavern route. The next stretch follows a linear path with more platforming.
Beat the Auxiliary Door After the Escape
The auxiliary door opens temporarily, so identify your destination before starting the crossing. Once you press its control, concentrate on reaching the doorway. Leave any optional exploring until you are through.
- Press the red button after the parkour section to open the auxiliary door on the other side. This starts your window to cross.
- Traverse the ledges on your left to reach the auxiliary doorway before it closes. Commit to this route immediately after activating the button.
- Climb the ledges in the following vertical section to reach the lift area. Look upward for the continuing route toward the next call with Stella.
Handle Bronto’s Later Digsite Pursuits
- Make a U-turn when Bronto begins hunting near the end of the padlock section. The escape follows the path on your right.
- Climb along the stopped conveyor belt after the later Bronto encounter. The route leads toward the stairs and the building on your left.
- Press the button inside that building to open the timed door. This prepares the next crossing out of the conveyor-belt area.
- Race through the door before it closes. Beyond the doorway, the route takes you down a slope.
- Run through the chase beyond the blasted cavern wall, timing your jumps through the parkour section. Bronto pursues you into the following area.
- Search the outer tunnels for dynamite while keeping your distance from Bronto. Three of the four required charges are in the outer hallway.
- Place the four dynamite charges around the large structure to complete the placement objective. Keep moving between interactions while Bronto remains in the area.